In order to track user engagement of ShoppingGives in Google Analytics, please follow the following steps.
Note, the following steps should be taken by an individual with prior Google Tag Manager and Google Analytics experience.
Google Tag Manager
1. Login into your Google Tag Manager account and select your container.
2. In the overview section, click on the New Tag element.
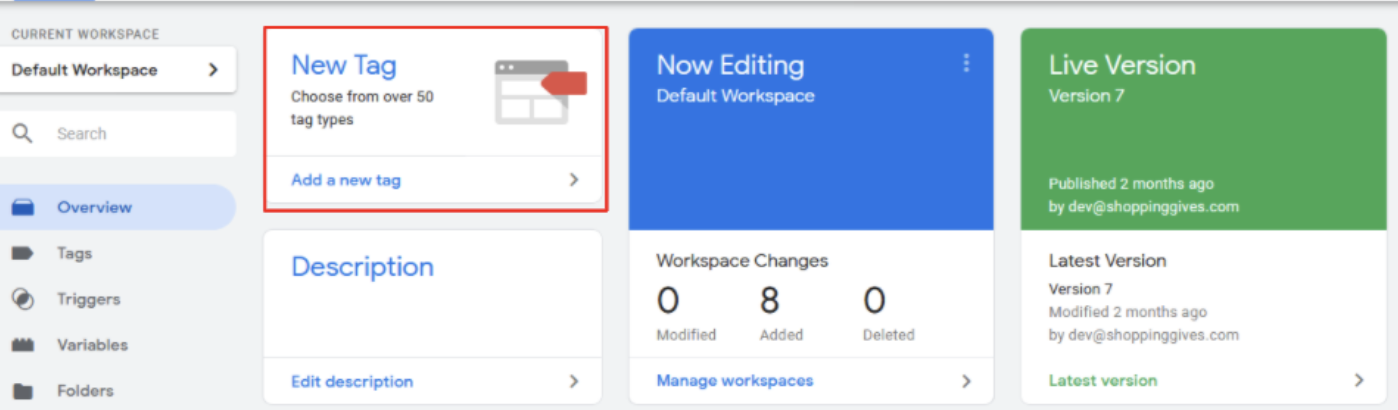
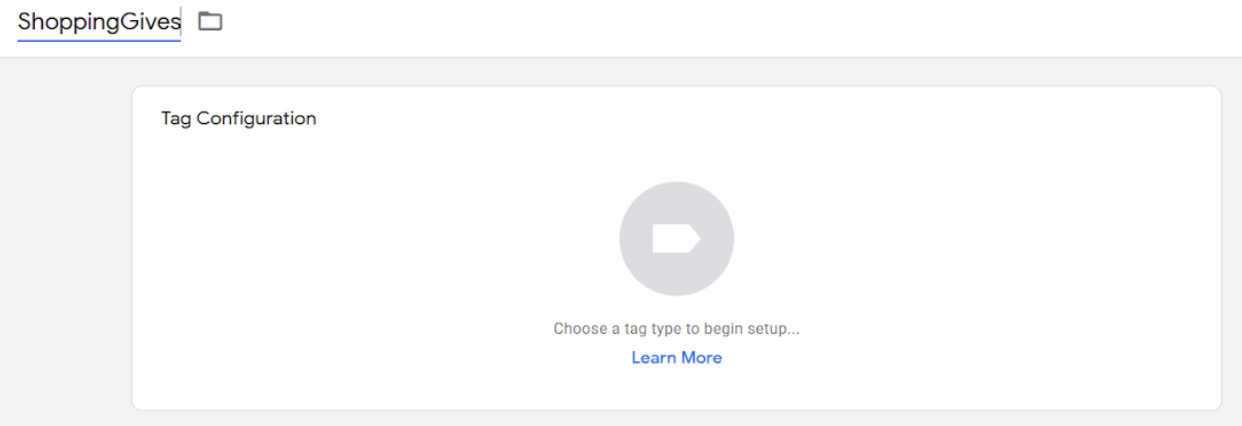
3. Name your tag ShoppingGives and click on the Tag Configuration area.
4. Click on Discover more tag types in the Community Template Gallery:

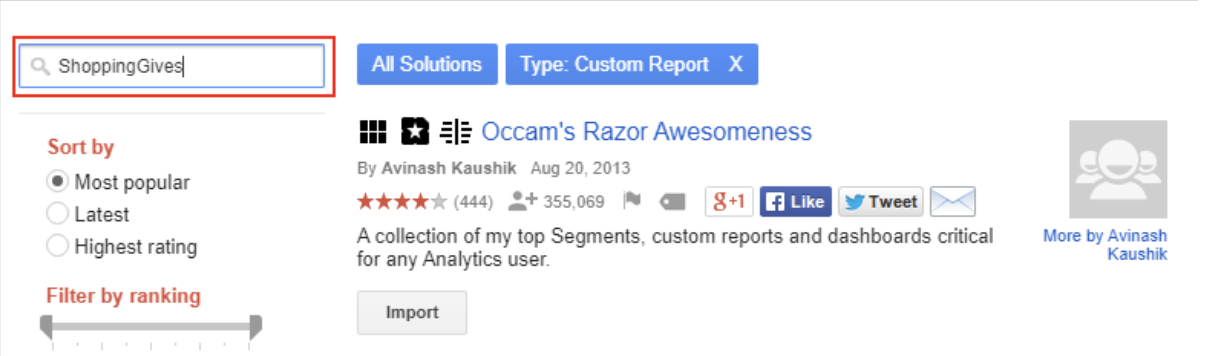
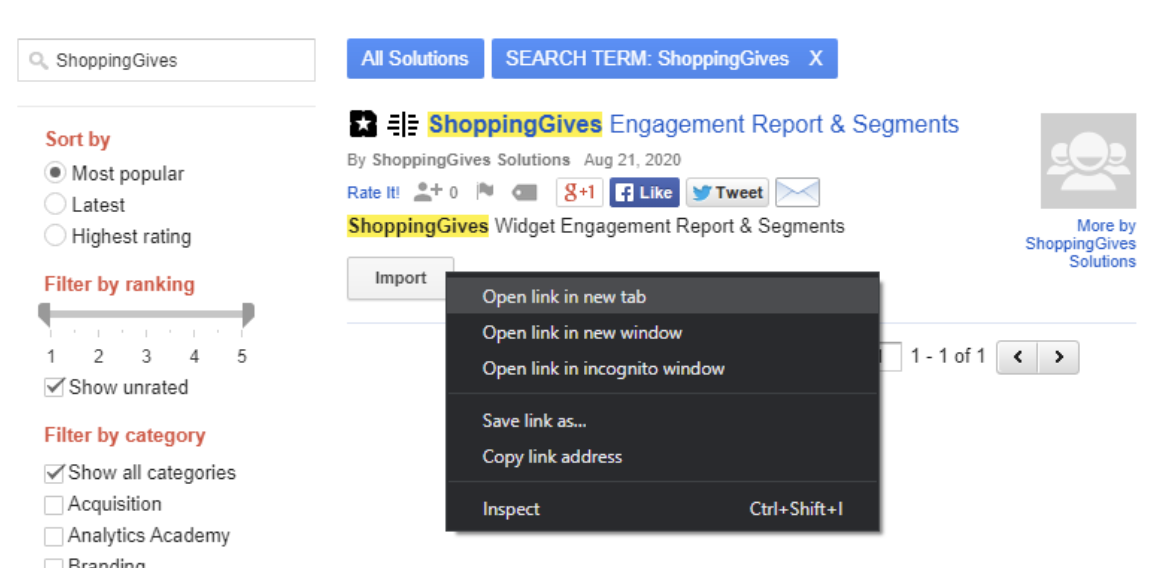
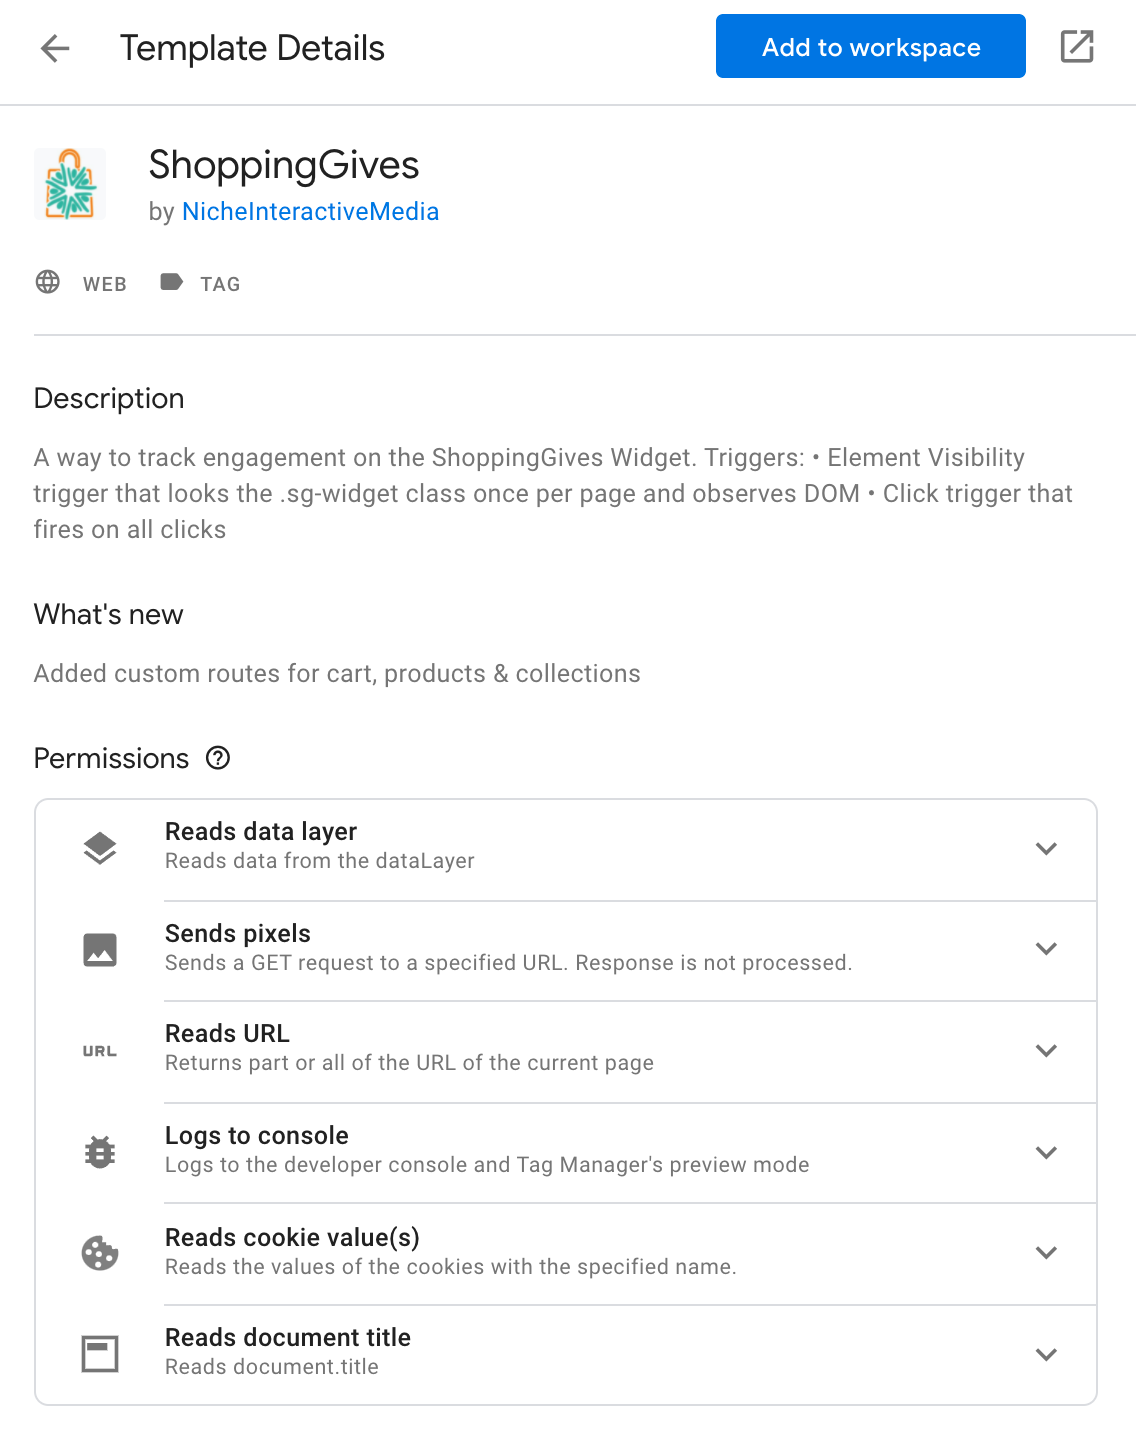
5. Search for our tag ShoppingGives and click on it:

6. Click on Add to workspace.
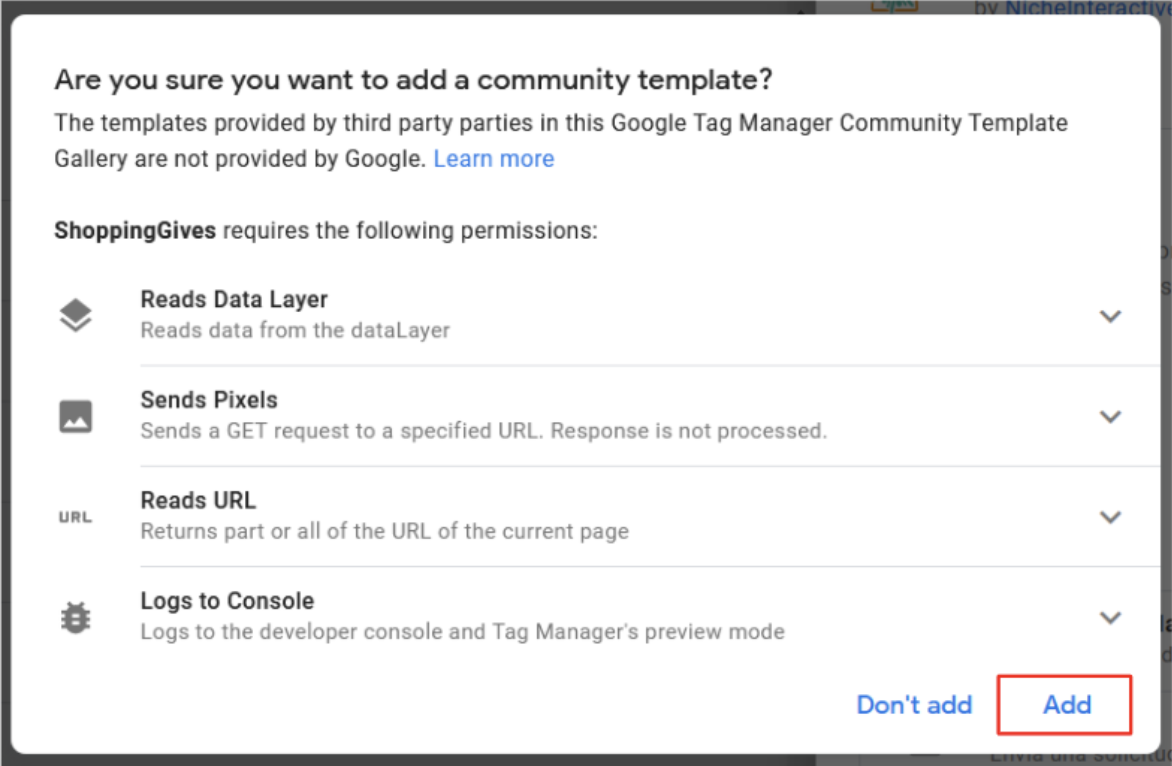
7. Confirm the addition of this tag to your workspace by clicking on Add:
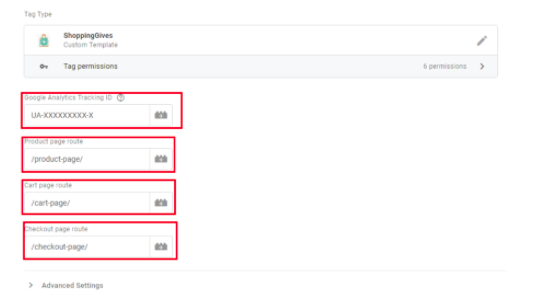
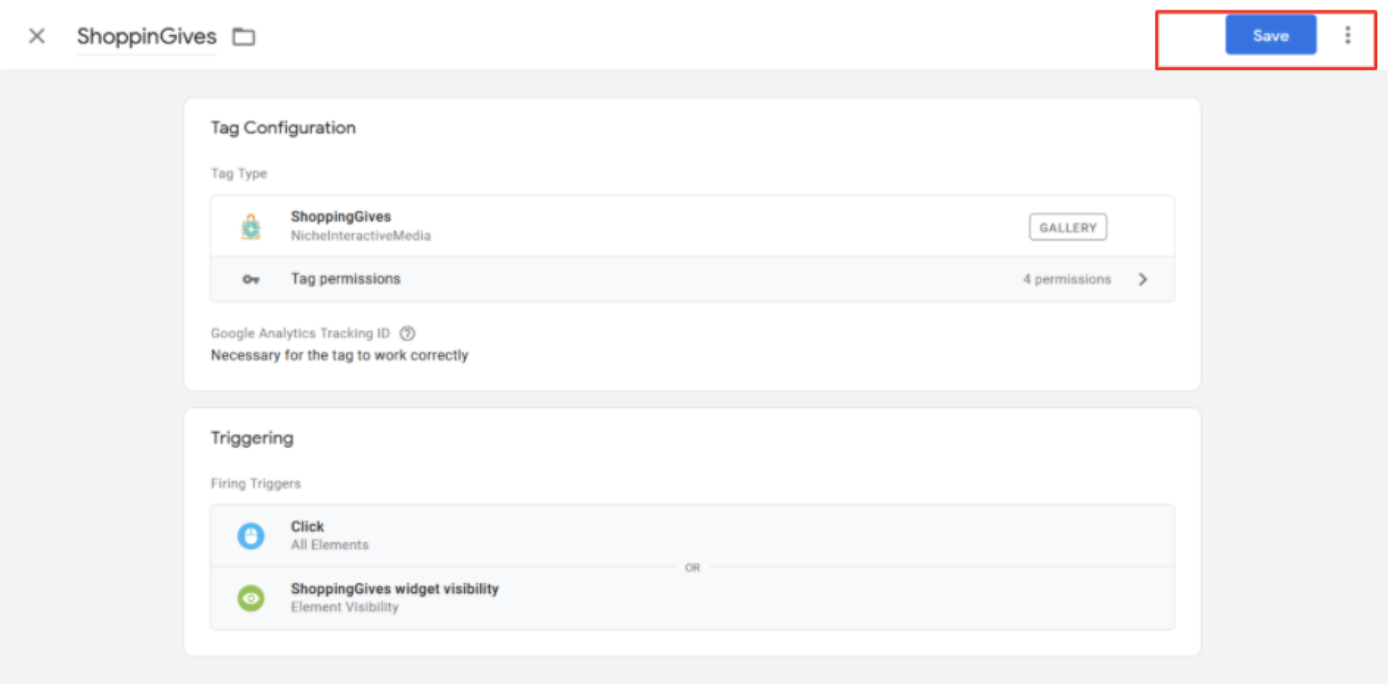
8. Once added the tag, you’ll have to configure it by adding your Google Analytics tracking ID, your Product Page pattern, your Checkout Page pattern, and the trigger to make this tag fire, by clicking on the Triggering area:

9. On the Choose a trigger screen click on the + sign to add a new trigger:
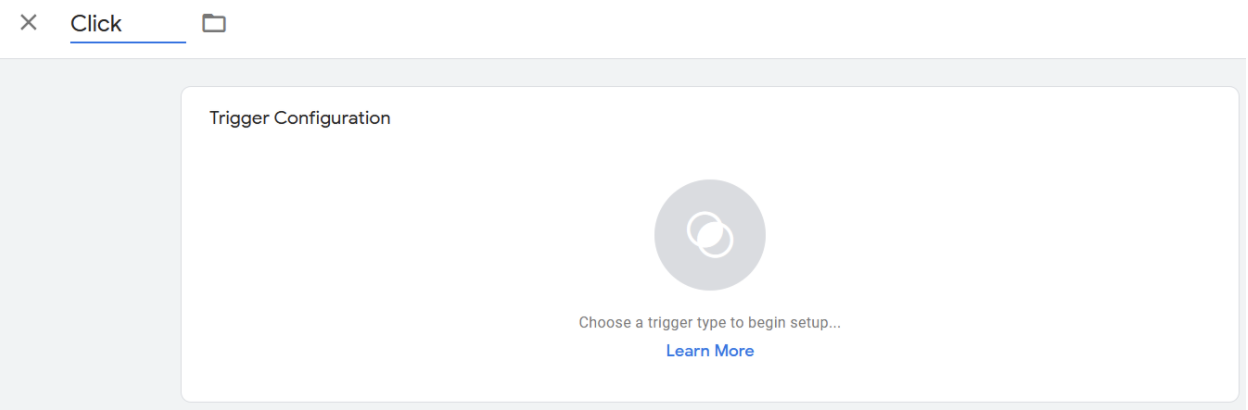
10. Name your trigger "ShoppingGives Widget Clicks" and click on the Trigger Configuration area to add a Click trigger that fires on all triggers:
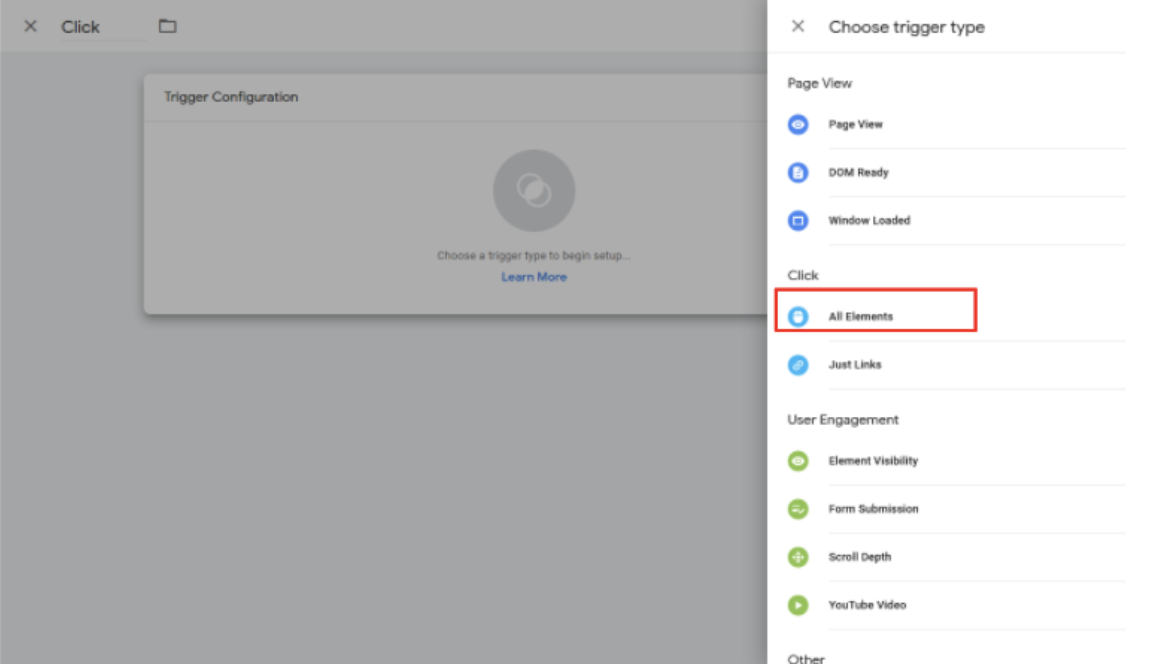
11. Save it.

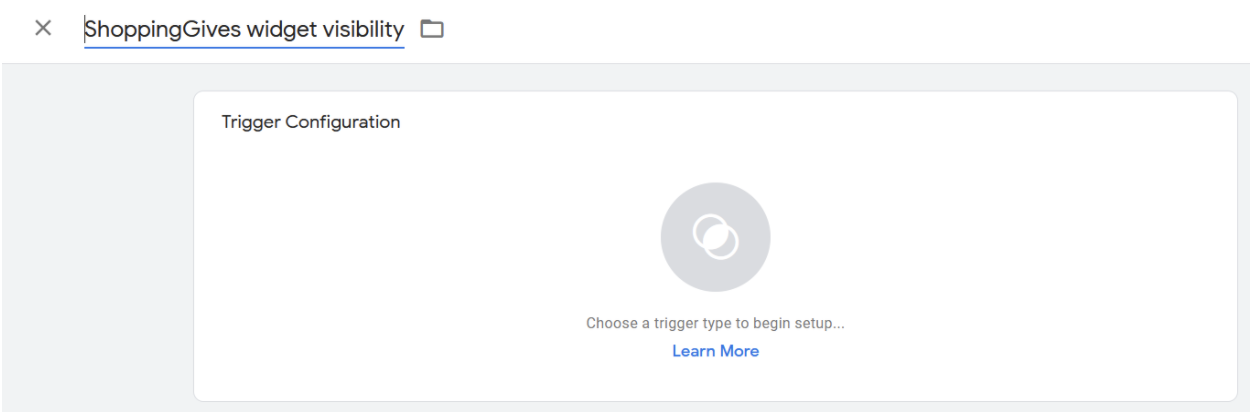
12. Add a new trigger:
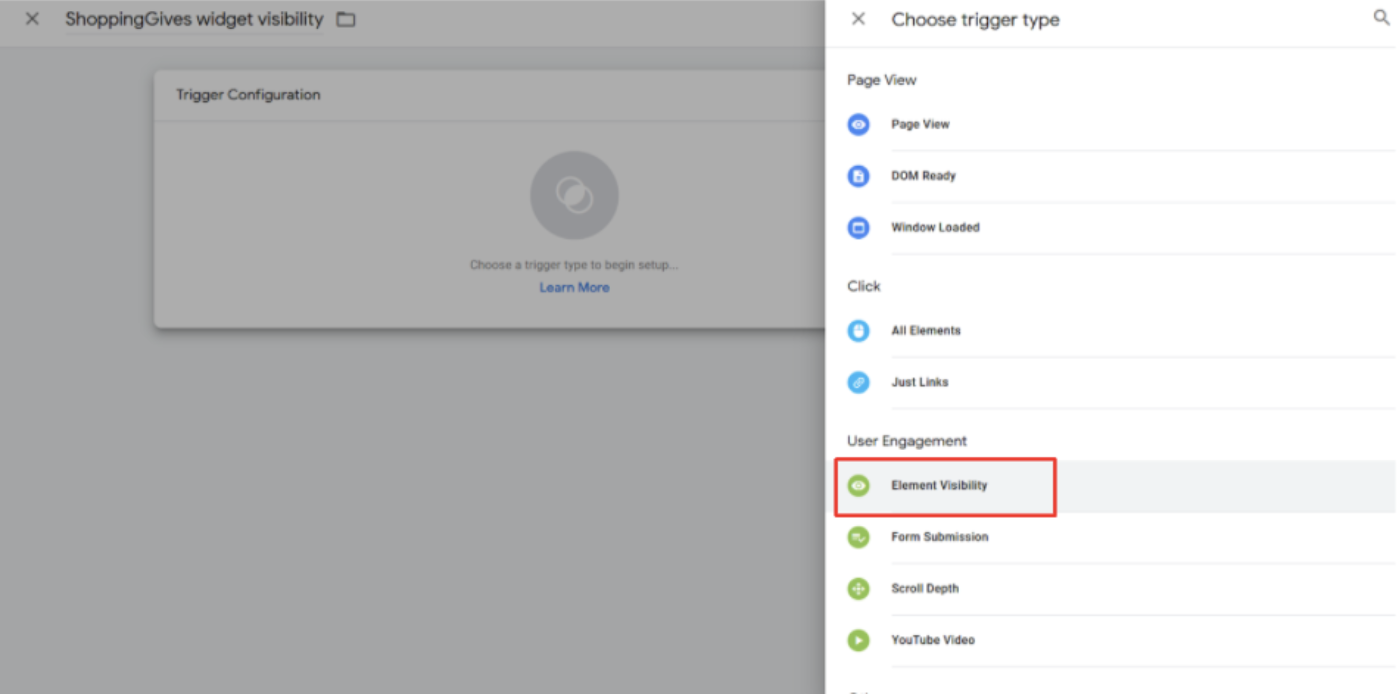
13. Name your trigger “ShoppingGives Widget Visibility” and click on the Trigger Configuration area to add an Element Visibility trigger:
14. Configure the trigger with the following properties:
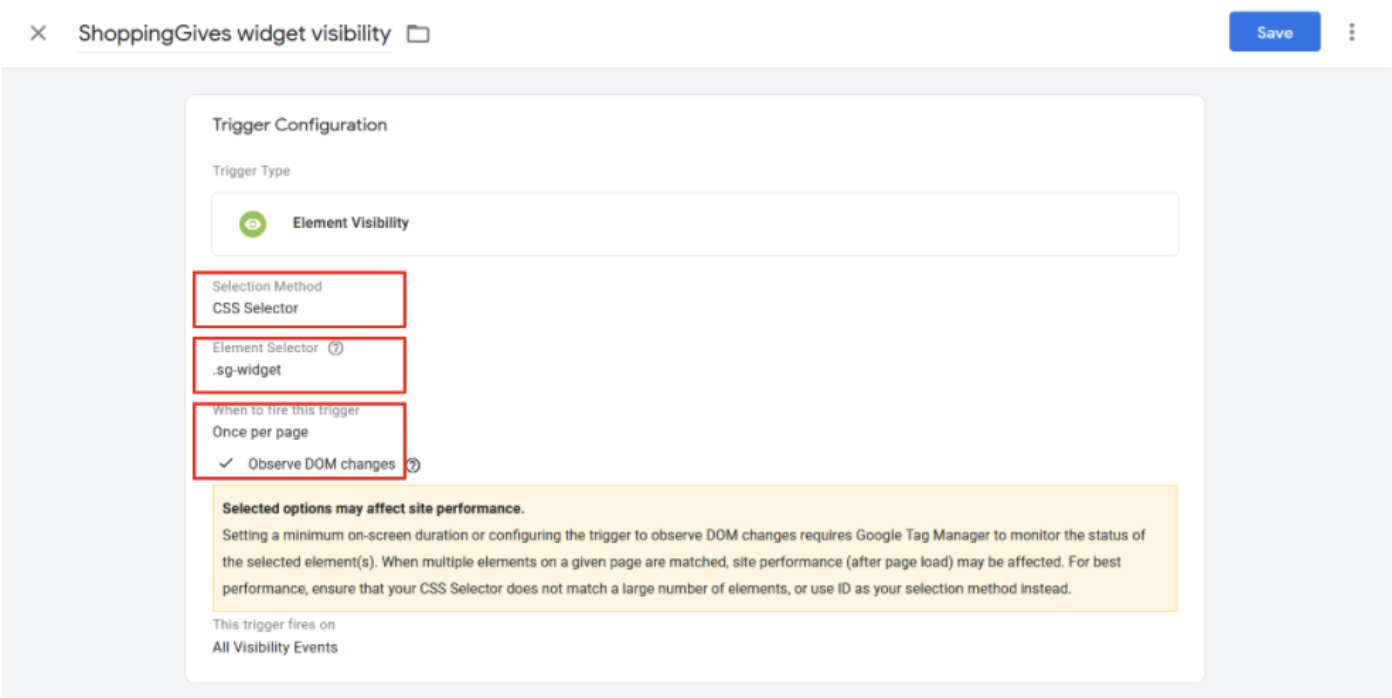
a. Selection method: CSS Selector
b. Element selector: .sg-widget
c. When to fire this trigger: Once per page
d. Observe DOM Elements: checked
e. This trigger fires on: All Visibility Events
15. In the Choose a trigger section, select the both triggers you’ve just created and click on add:
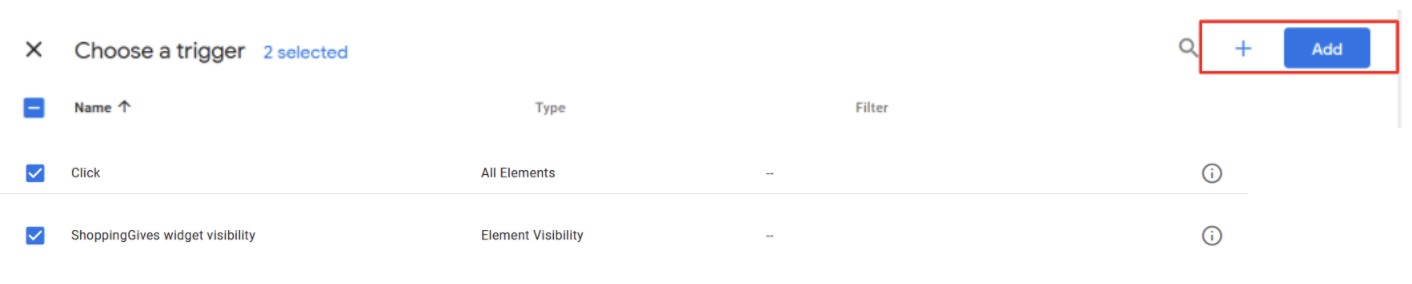
16. And finally, Save your new ShoppingGives tracking tag:
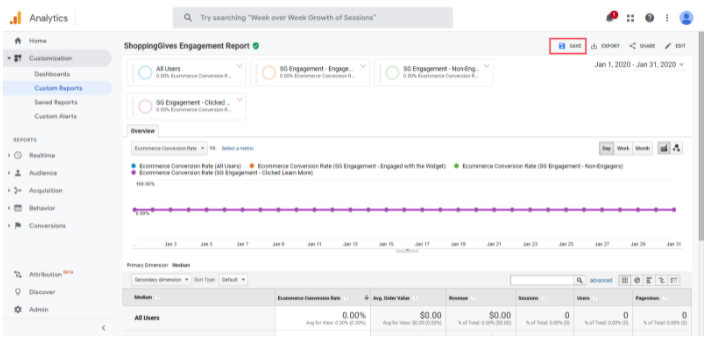
After configuring and publishing your Tag (don’t forget to provide your Google Analytics tracking ID), you’ll start collecting the relevant data on your GA account.
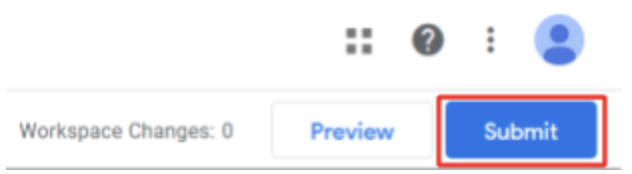
You can publish your tag hitting Publish on the top upper-right corner of of the page:
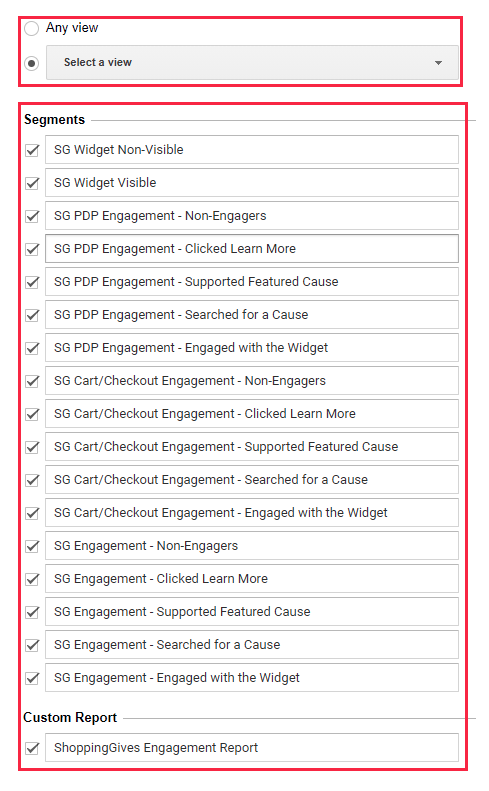
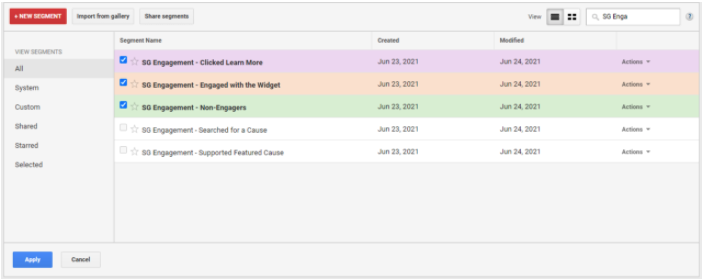
To ease the processing and analysis of this new data, we also provide you with the following Google Analytics custom report and segments that’ll save you a ton of time!
Google Analytics
Custom Report
1. Login into your Google Analytics account. You need to have only one email logged in the browser
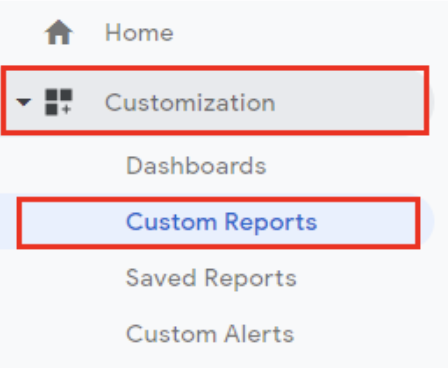
2. Select Customization > Custom Reports on the left navigation panel.
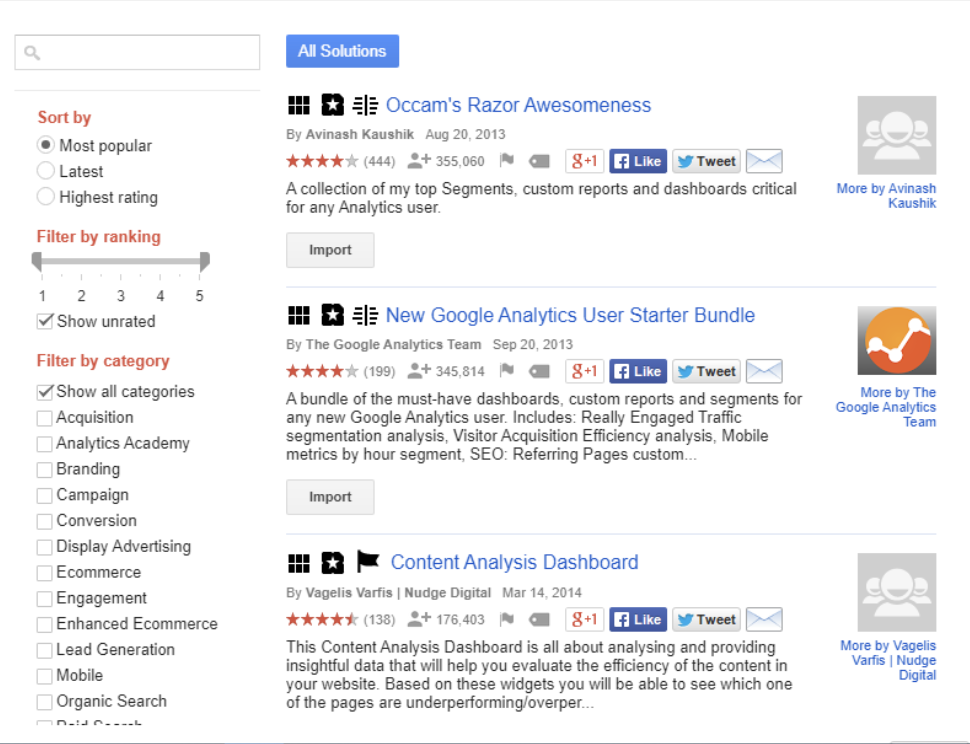
2. Click on Import From Gallery
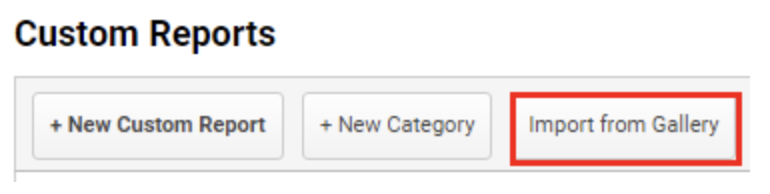
a. The following popup window will display: