
This article covers how to install and activate the ShoppingGives donation application into your Shopify store’s eCommerce experience.
How to Install the ShoppingGives App
For all integrations outside the Shopify platform, please reference our integrations page here. You can also schedule time with a specialist to discuss custom solutions here.
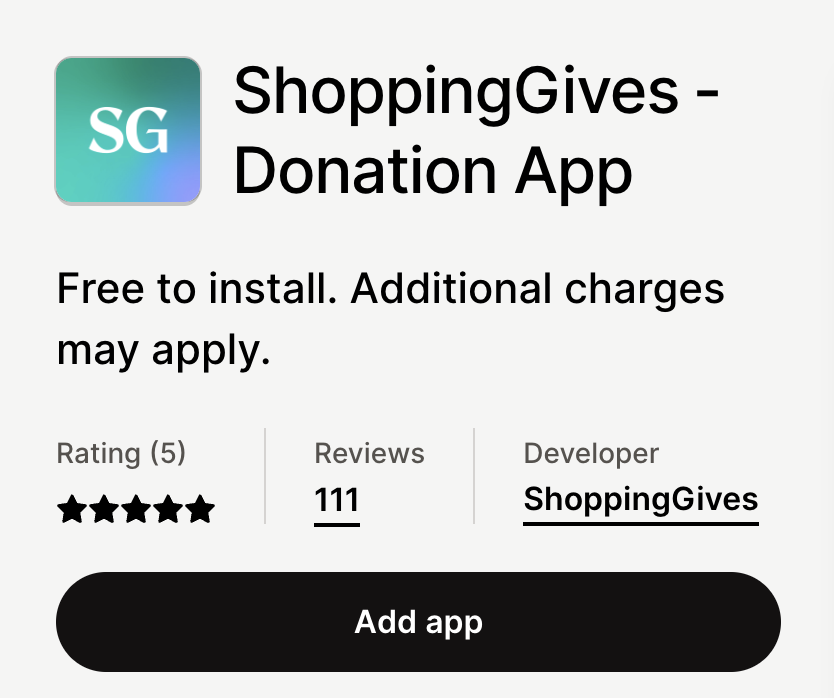
- Search for ShoppingGives - Donation App within the Shopify app store, then select “Add app” as seen below - you will then be redirected to a confirmation page:
- On the installation confirmation page, select “Install app” as seen below:
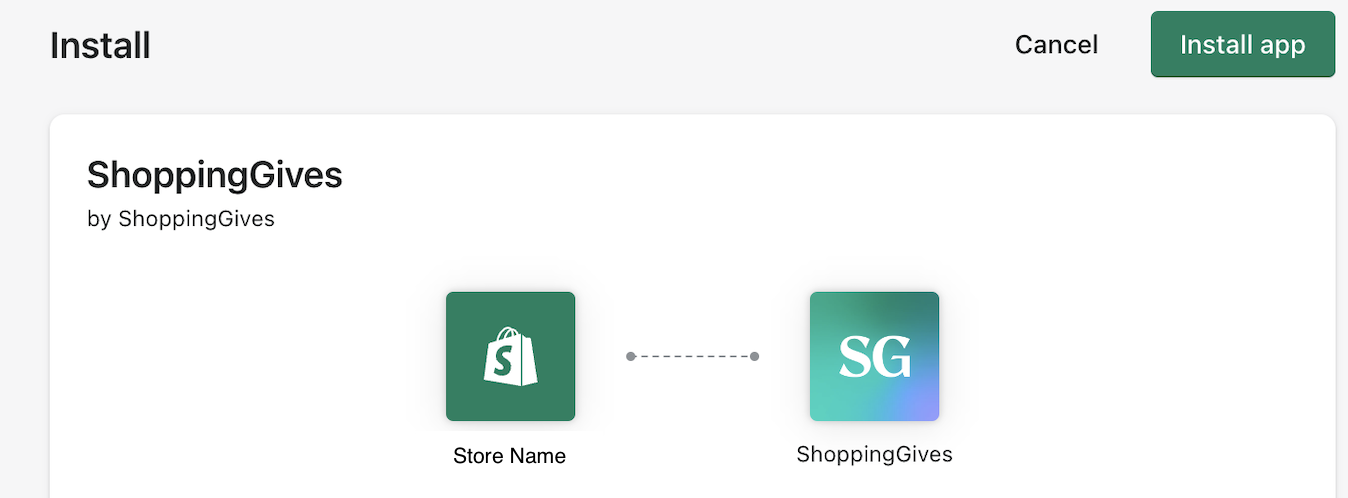
This completes your basic installation. The next step is to activate the app and turn on donations!
How to Activate the ShoppingGives App
Step by Step
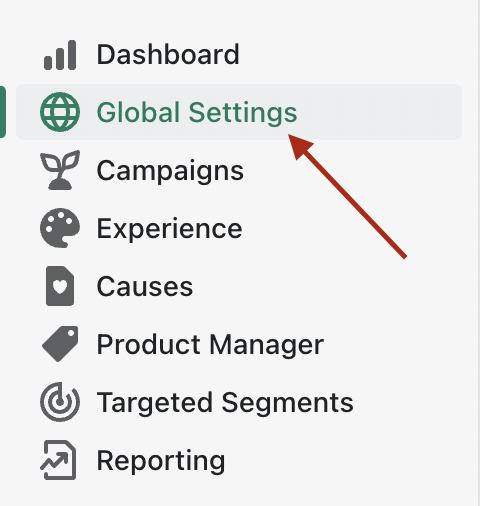
Immediately following installation, you will want to navigate to the Global Settings page - this is where you are able to select your desired giving experience, the causes you wish to support, as well as where you will enter your payment method. You can select Global Settings at any time from the Impact Portal menu at the left side of the page as seen below:
Step 1 - Choose your Giving Experience
Do you want to donate to causes you set or let your customers choose which cause to support?
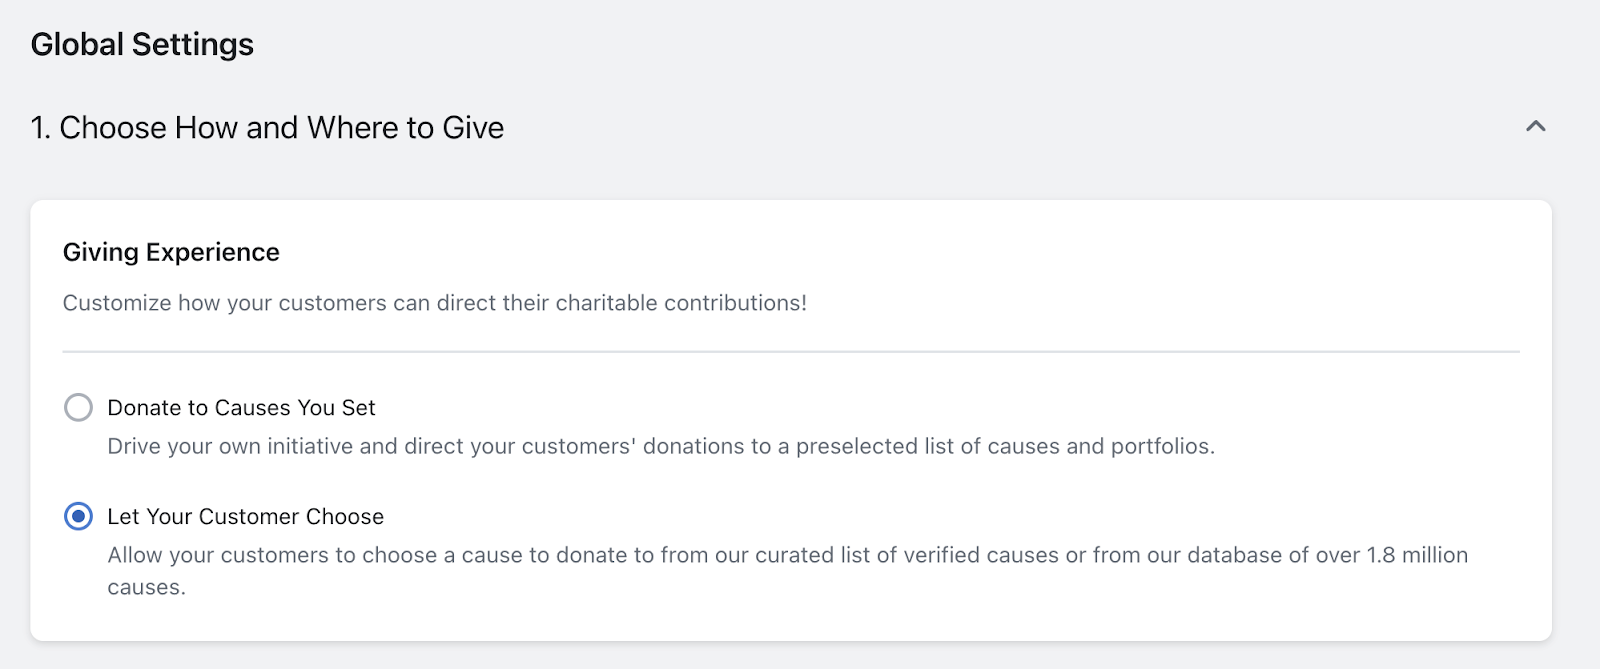
- Donate to Causes you Set and Manage by Product:
With this giving experience selected, you as the merchant will designate which cause donations will benefit — if more than one nonprofit is selected as a featured cause, generated donations will be evenly disbursed between your selected causes - Let Your Customers Choose:
With this giving experience selected, your customers will have the option to select which of your set Featured Causes they wish for the donation generated with their order to support
Step 2 - Set your Featured Causes
Now that you have selected how you wish to give, it is time to select the causes you wish to feature within your store's donation experience
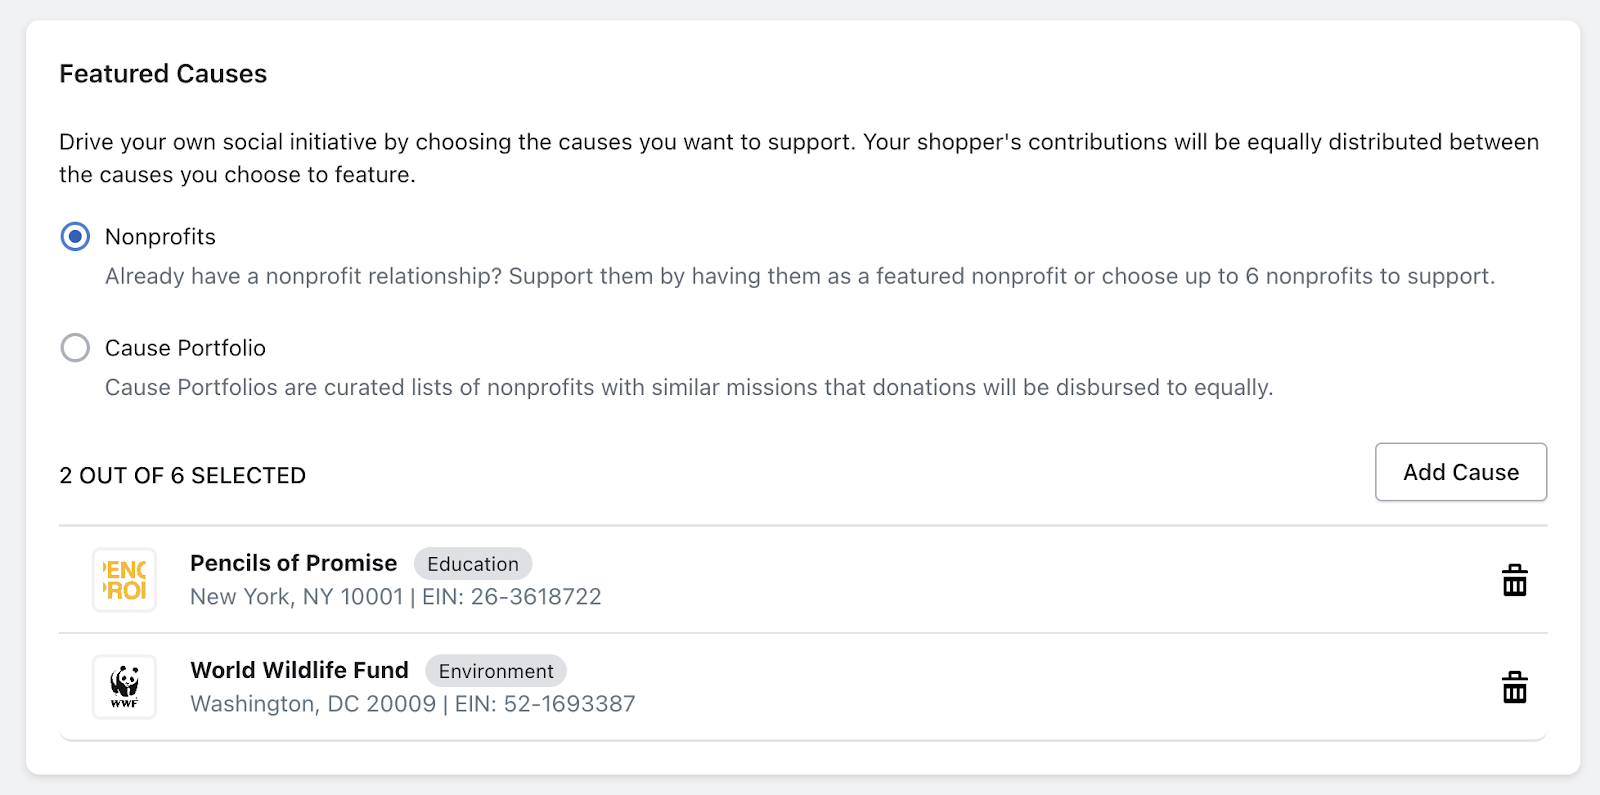
- To add a cause, scroll down to the Featured Causes section of the Global Settings page and click the Add Cause button shown above - this will bring up a search bar for you to locate and select your preferred causes from our database, as well of a list of nonprofit categories that you can click into in order to browse the nonprofits within that category.
- You can select up to 6 nonprofits or cause portfolios to support at any given time...
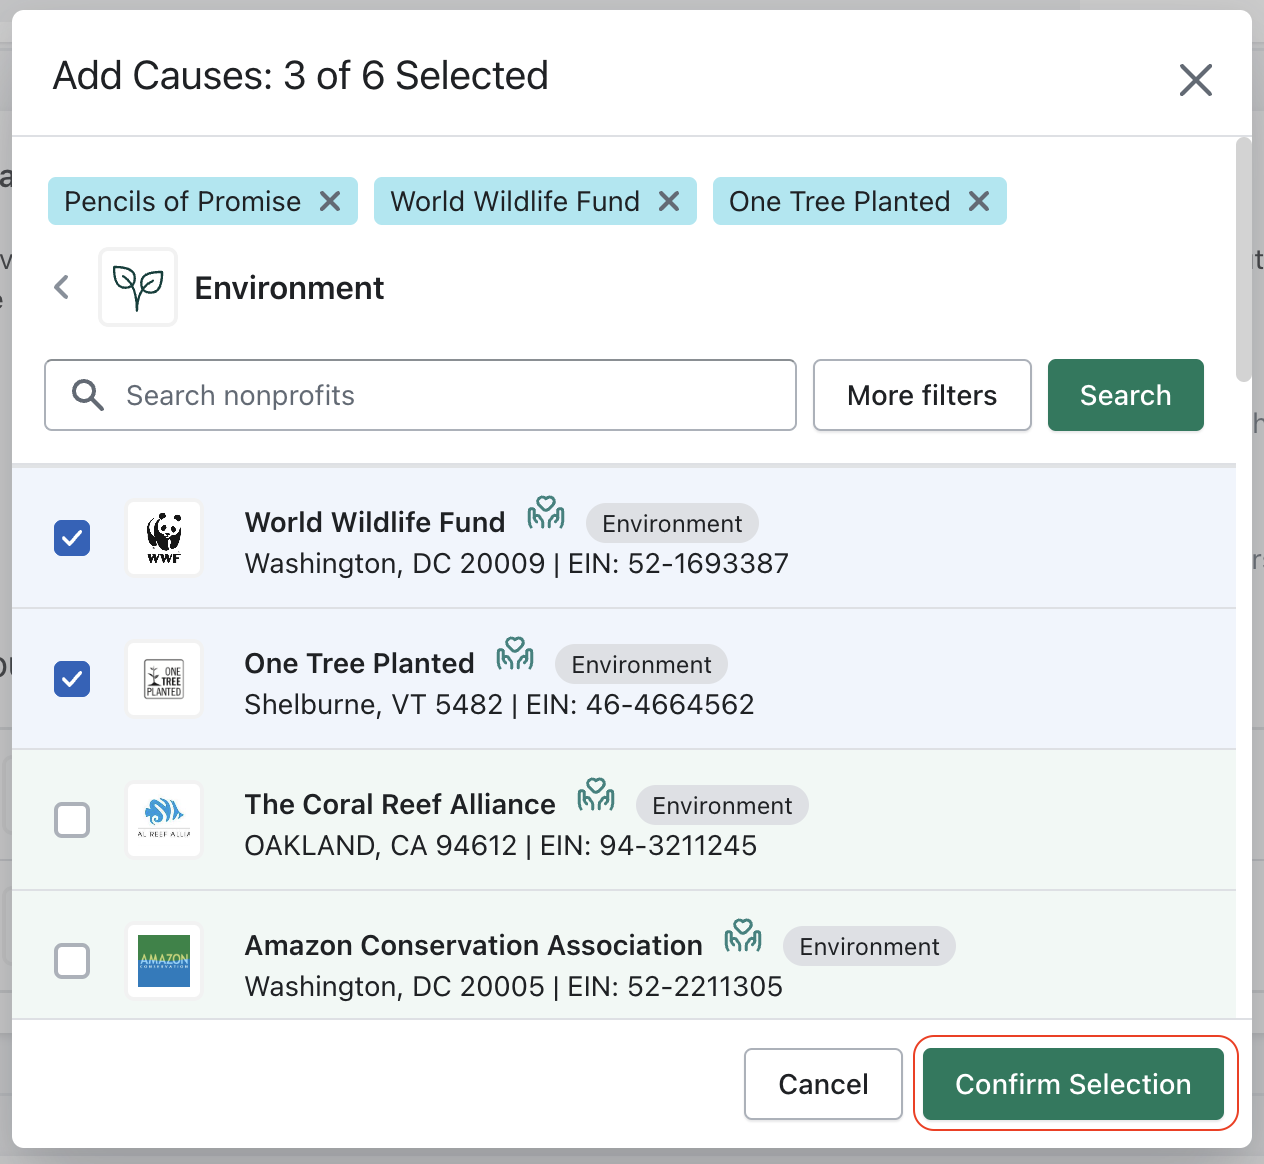
- If you are utilizing the base-level Impact Starter plan or remain within your trial period, you will be limited to only supporting and donating towards Verified Nonprofit organizations, which appear highlighted in green within the cause search with a badge displaying their Verified status as seen below:
- A ShoppingGives Verified Nonprofit is a distinguished nonprofit organization that we feature on our Social Impact Stack for merchants to support at any level. These impactful nonprofits have been carefully selected, ensuring that they represent a diverse range of cause areas and organizational sizes — click here for a full list of our current Verified Nonprofits!
- If you would like to support nonprofit organizations that do not fall within our Verified Nonprofit program as an Impact Starter partner, you have the option to add-on our customer cause search feature for an additional $49 per month. With this add-on, you will have the ability to designate any of the 1.8 million causes in our nonprofit database for your campaigns, as well as have the ability to allow your customers to search and select a cause of their own.
- A ShoppingGives Verified Nonprofit is a distinguished nonprofit organization that we feature on our Social Impact Stack for merchants to support at any level. These impactful nonprofits have been carefully selected, ensuring that they represent a diverse range of cause areas and organizational sizes — click here for a full list of our current Verified Nonprofits!
- If you are utilizing the base-level Impact Starter plan or remain within your trial period, you will be limited to only supporting and donating towards Verified Nonprofit organizations, which appear highlighted in green within the cause search with a badge displaying their Verified status as seen below:
- After you have chosen your preferred nonprofits, click the Confirm Selection button seen below, then be sure to save your selections at the top right corner of the page:
- You can select up to 6 nonprofits or cause portfolios to support at any given time...

Step 3 - Select your Plan + Add a Payment Method
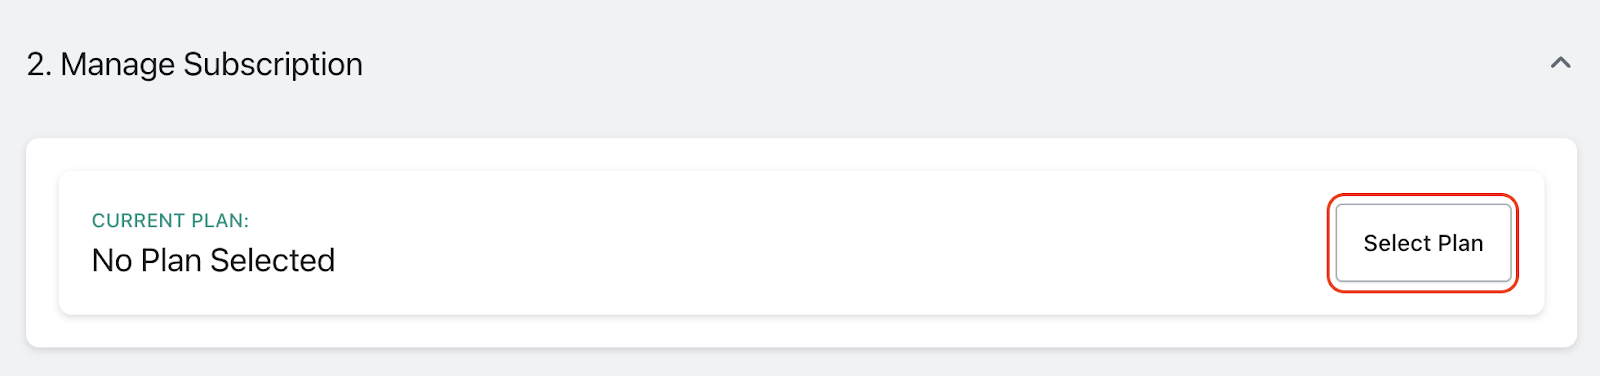
Click the Select Plan button highlighted above to bring up a window in which you can review the features of each plan and select your desired option. Once your desired plan has been selected, you'll be brought to a Stripe Checkout page to enter your contact information along with your preferred payment method — you have the option between linking a bank account or a credit card
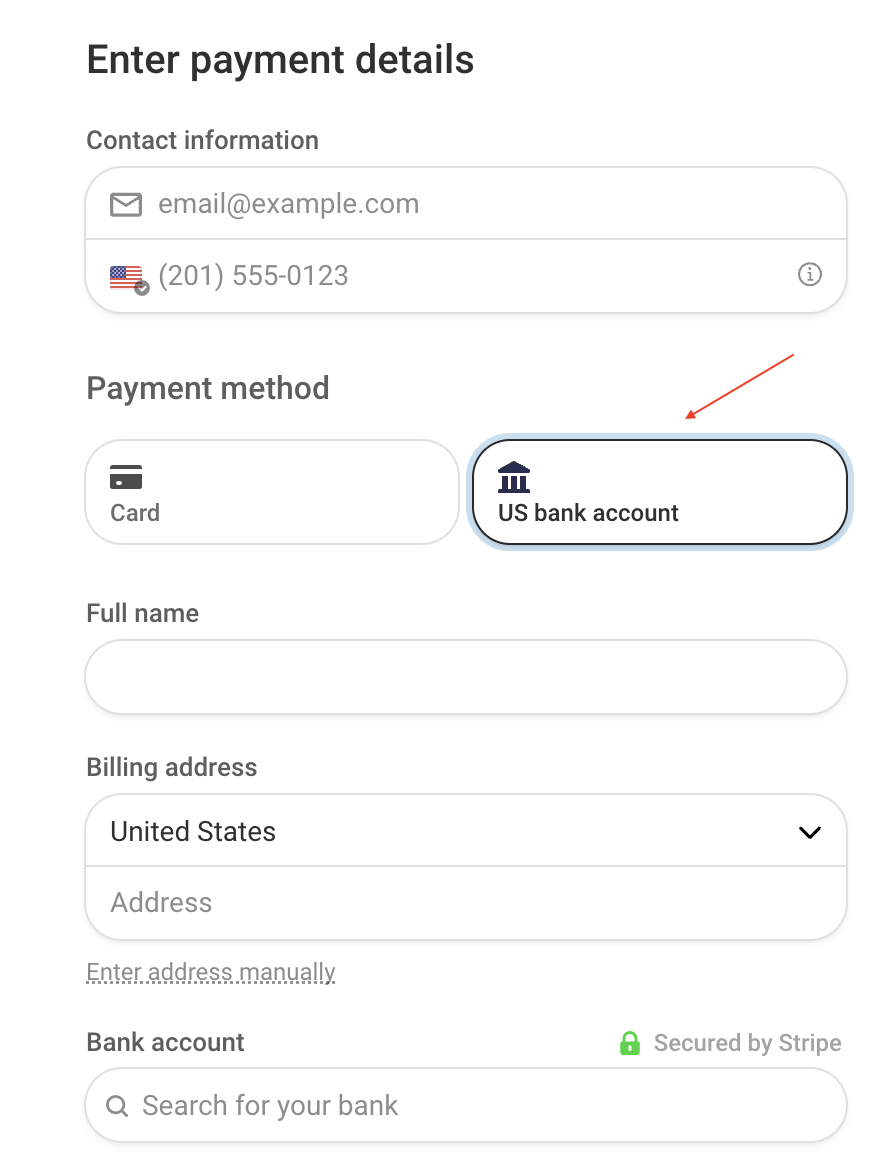
- To link a bank account as your preferred payment method, select US bank account under Payment Method as seen below, then search for and select your financial institution in order to link the ACH account:
- In order to use a bank account as your form of payment within the ShoppingGives app, you must have a U.S. based bank account. If you do not have a U.S. bank account, please select credit card payment as your preference.
- In order to use a bank account as your form of payment within the ShoppingGives app, you must have a U.S. based bank account. If you do not have a U.S. bank account, please select credit card payment as your preference.
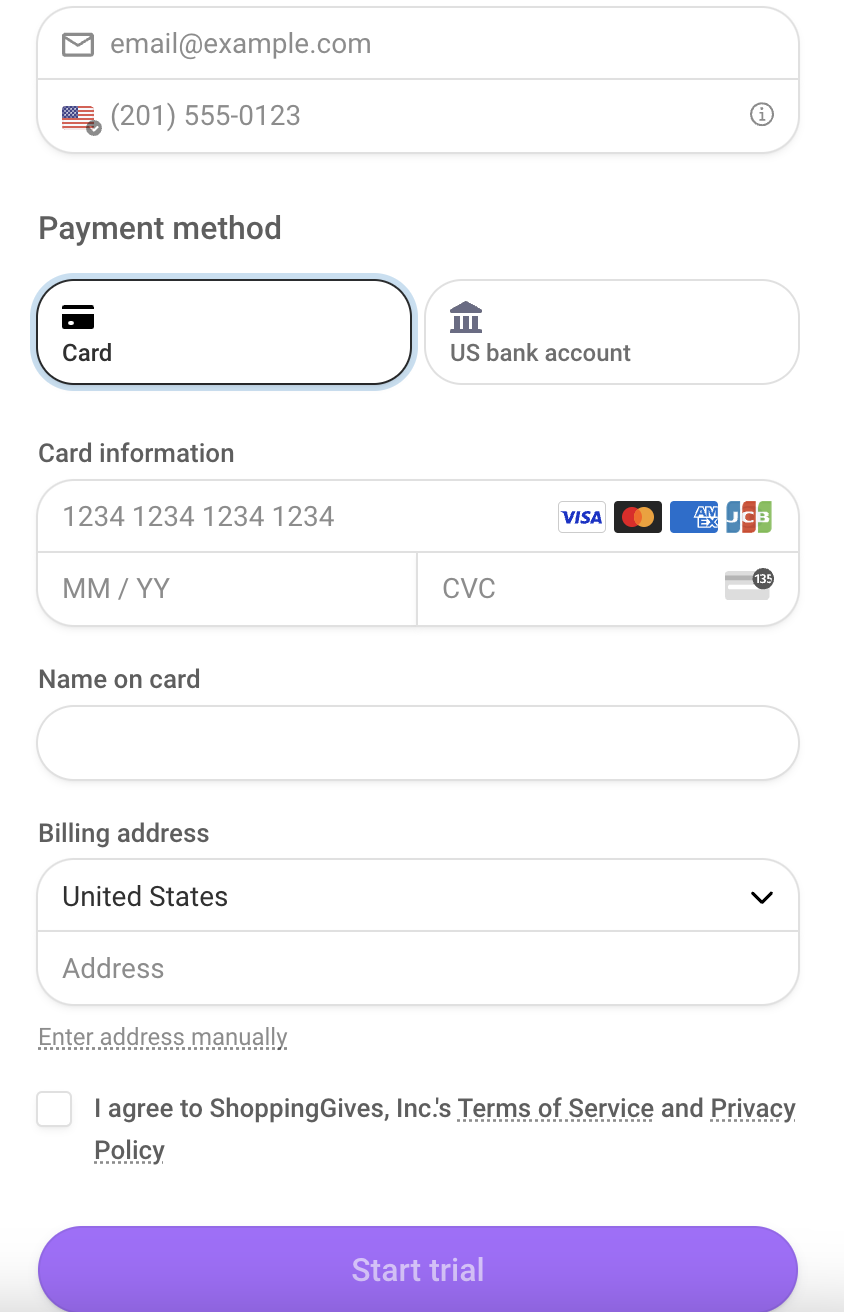
- To pay all invoices by credit card, select Card under Payment Method and enter the required information:
- A credit card processing fee will be added to all invoices if you choose to use a credit card. There are no additional processing fees if you pay invoices by ACH, unless your invoice total falls below the $1 threshold, in which case you will be charged an ACH fee to bring your invoice total up to the $1 threshold needed to bill you.
- A credit card processing fee will be added to all invoices if you choose to use a credit card. There are no additional processing fees if you pay invoices by ACH, unless your invoice total falls below the $1 threshold, in which case you will be charged an ACH fee to bring your invoice total up to the $1 threshold needed to bill you.
- Once you've entered your contact information and preferred payment method as well as agreed to our Terms of Service/Privacy Policy, click the purple Start trial / Subscribe button to activate your chosen plan!
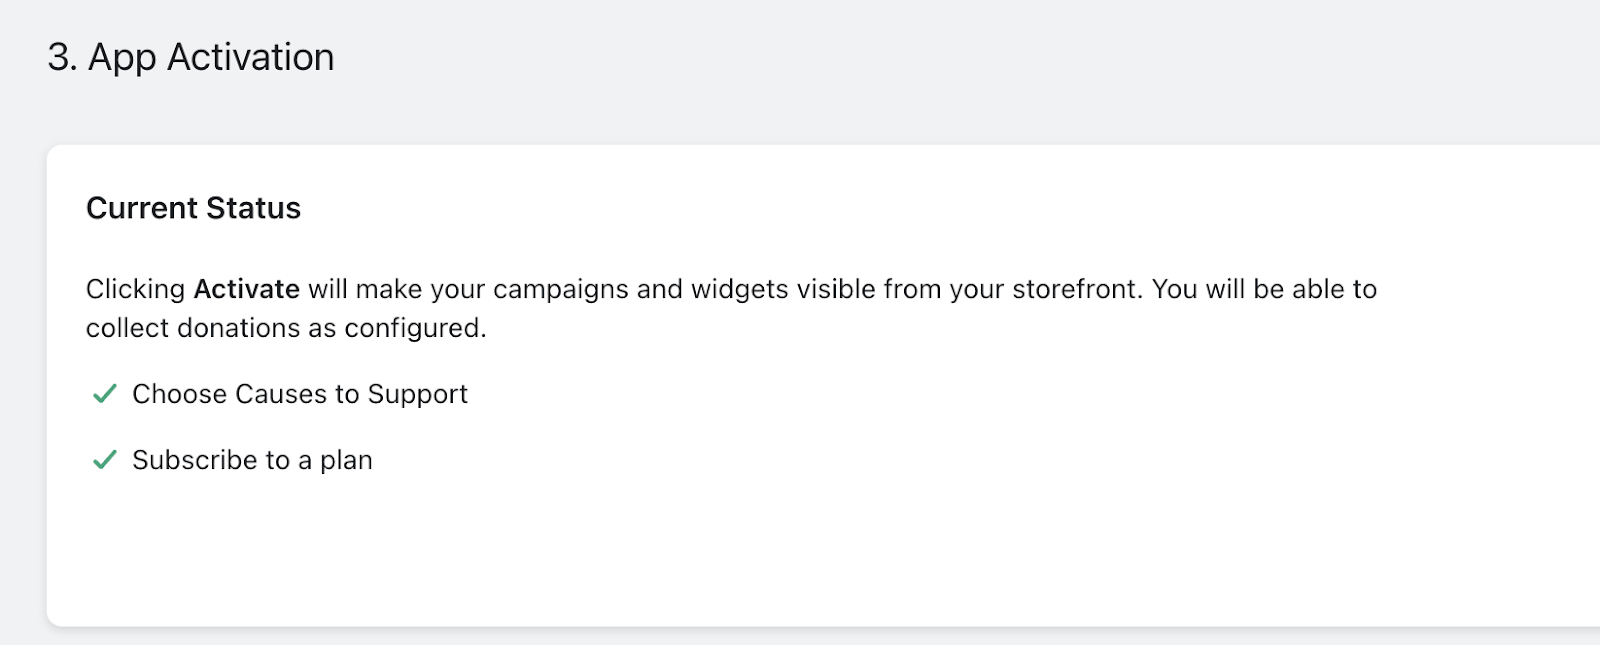
Step 4 - Activate!
After you’ve entered a payment method and selected how and where you'd like to give, you’re ready to activate giving by clicking the green Activate button within the App Activation section pictured below!
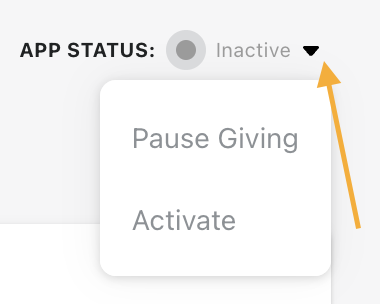
- You can also activate giving or pause giving at any time from the App Status dropdown menu at the top right of the Impact Portal:
- Clicking Pause Giving will pause all giving campaigns - widgets will no longer be visible on your storefront, and no further donations will be generated.
- To resume giving after a pause, simply click Resume giving from this same app status menu
Step 5 - Start your campaign
The final step is to go ahead and set up your Giving Strategy by selecting one (or all!) of our available campaigns.
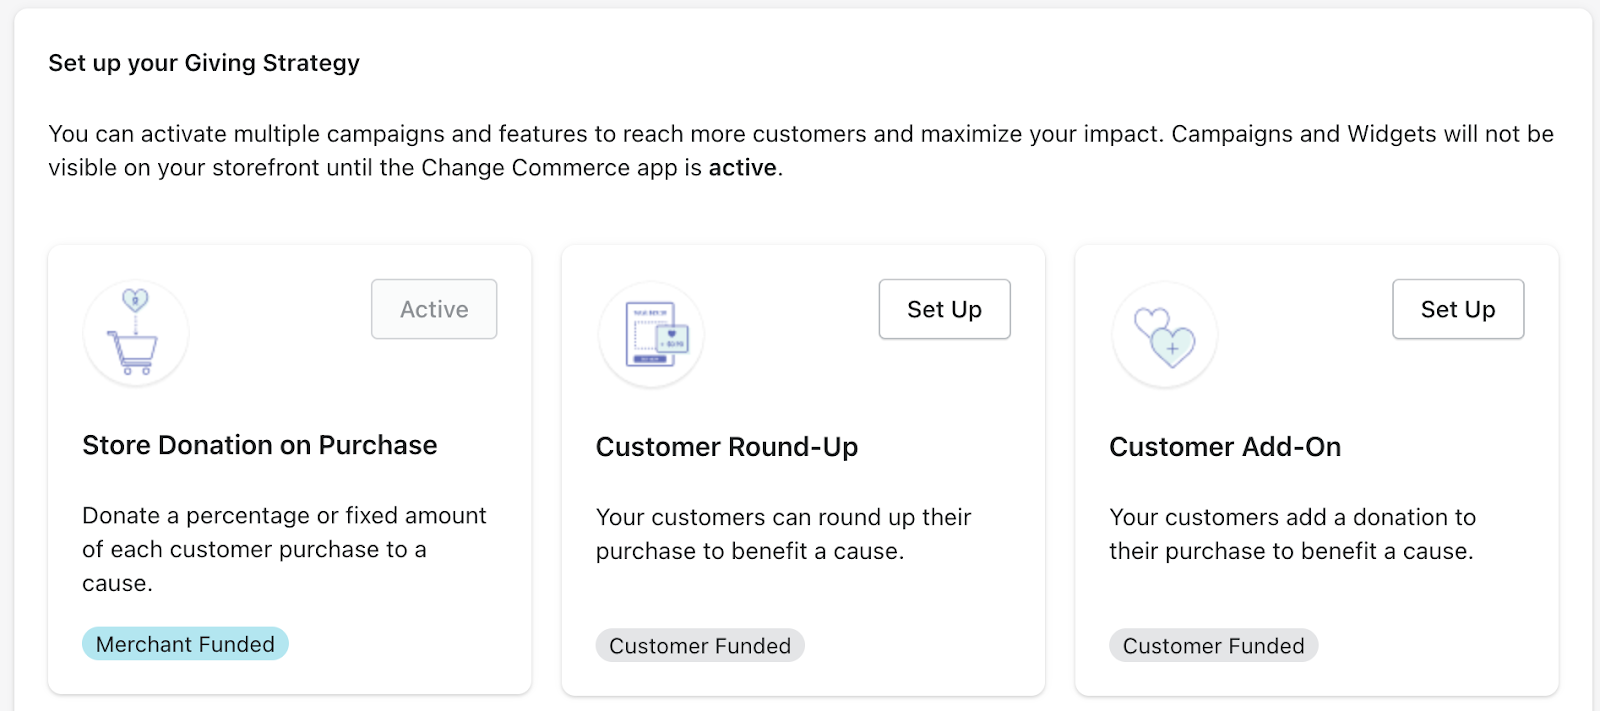
- Store Donation on Purchase
Encourage your customers to shop by showcasing your support for a featured cause or your customer's preferred cause.
- After selecting the Store Donation on Purchase Set Up button seen above, you will be brought to the campaign settings page
- Click here for our step-by-step Store Donation on Purchase campaign setup guide!
- After selecting the Store Donation on Purchase Set Up button seen above, you will be brought to the campaign settings page
- Customer Round-Up
Enable your customers to donate the change from their purchase to a cause set by you or chosen by them.
- After selecting the Customer Round-Up Set Up button seen above, you will be brought to the campaign settings page
- Click here for our step-by-step Customer Round-Up campaign setup guide!
- After selecting the Customer Round-Up Set Up button seen above, you will be brought to the campaign settings page
- Customer Add-On
With Add-On Donations, all of our Shopify merchant partners can empower their customers to get involved in their impact strategy by giving them the opportunity to add a donation of their choice to their purchase.
- After selecting the Customer Add-On Set Up button seen above, you will be brought to the campaign settings page
- Click here for our step-by-step Customer Add-On campaign setup guide!
- After selecting the Customer Add-On Set Up button seen above, you will be brought to the campaign settings page